Skip to content
Blog
About Us
Contact Us
Privacy Policy
Terms and Conditions
Toggle Menu
Blog
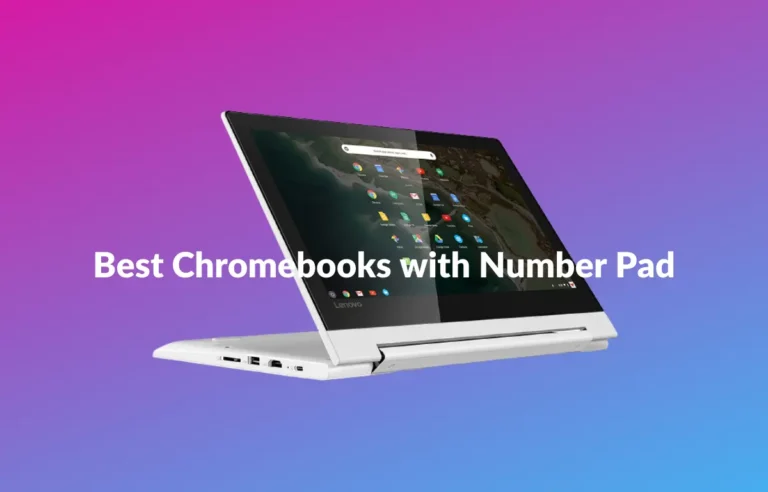
Best Chromebook with Number Pad in 2024 – Buyer Guide
By
Jason
March 13, 2024
March 13, 2024
Blog
Best Chromebook with backlit keyboard in 2024
By
Jason
March 12, 2024
March 13, 2024
Blog
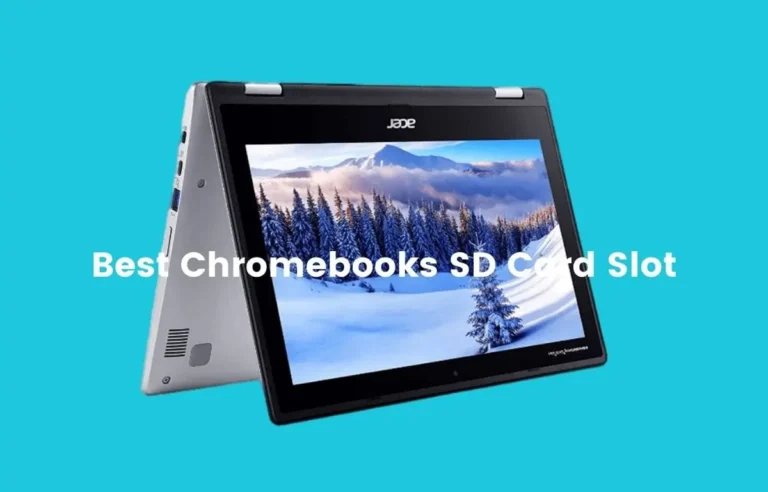
Best Chromebook with SD card reader in 2024
By
Jason
March 11, 2024
March 13, 2024
Blog
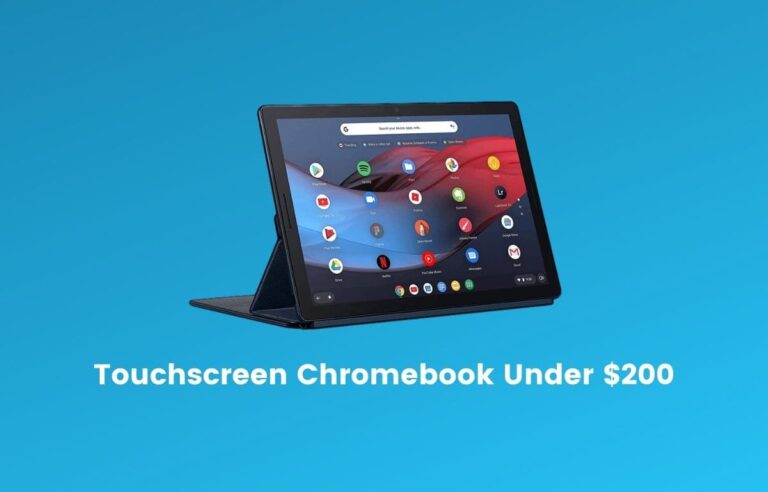
Best Chromebooks under 200 : Top performers in 2024
By
Jason
March 10, 2024
March 13, 2024
Blog
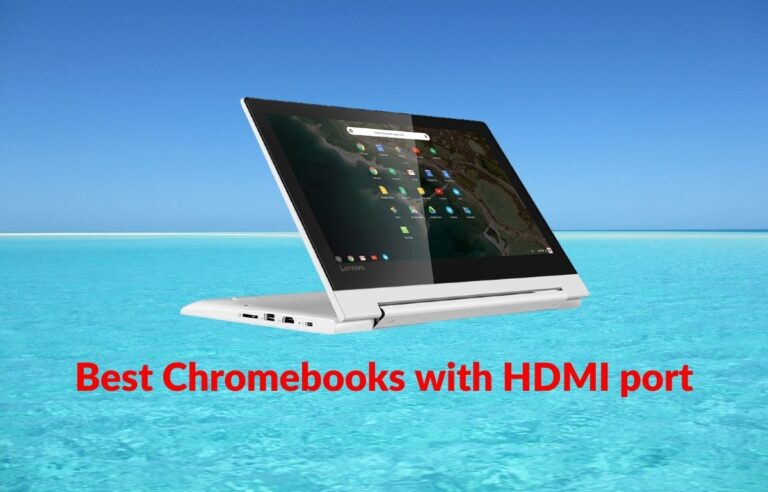
Best Chromebook with HDMI port : Top selling in 2024
By
Jason
March 9, 2024
March 13, 2024
Blog
Best Chromebook for Zoom Meetings in 2024
By
Jason
March 8, 2024
March 13, 2024
Blog
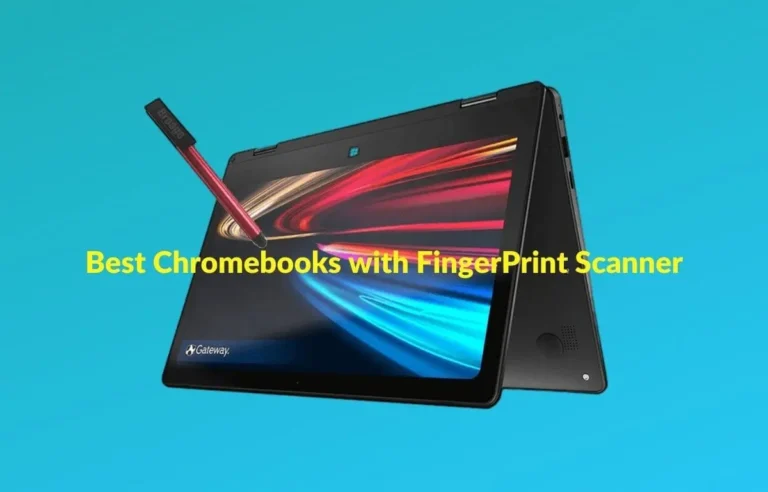
Best Chromebook with fingerprint reader in 2024
By
Jason
March 7, 2024
March 13, 2024
Blog
Best Chromebooks Under 400 in 2024
By
Jason
March 6, 2024
March 13, 2024
Scroll to top
Scroll to top
Blog
About Us
Contact Us
Privacy Policy
Terms and Conditions